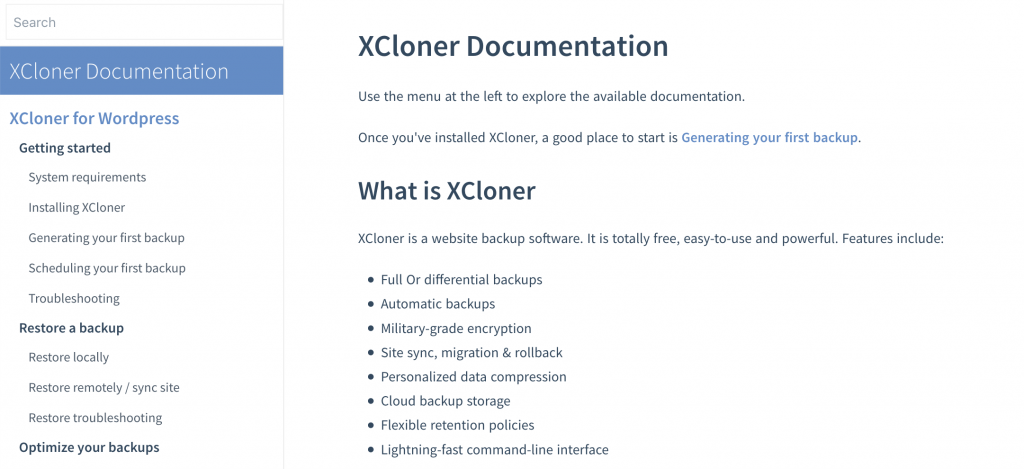
XCloner is the easy, free and reliable way to back up your WordPress sites.
In April this year, XCloner joined the Watchful team. Ever since then, we’ve been hard at work on improvements for XCloner users.
Previously, there wasn’t any documentation available for XCloner, so we’re building a new documentation site.
We looked at several good WordPress-based options including Echo Knowledge Base and Better Docs. However, after talking with several friends who have recently built documentation systems, we were persuaded to look at flat-file systems, and particularly ones that integrated with Github. This isn’t an ideal option if you’re a non-coder, but our staff are technically-minded. The more we looked at some flat-file options, the more enthusiastic our team was about the ability to use Markdown, and to put the documentation under version control.
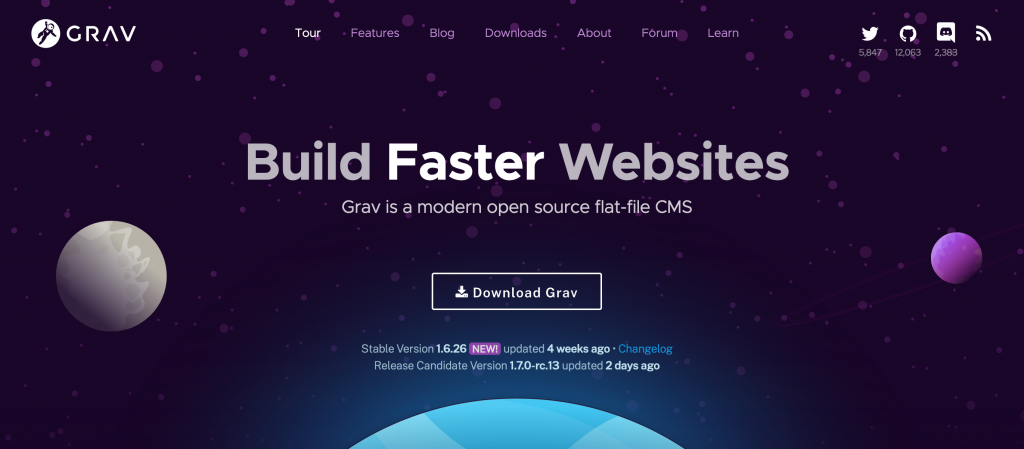
One person in particular was a big influence on our thinking. Andy Miller runs RocketTheme who build WordPress themes. When he had to write documentation, he experimented so much that he ended up creating Grav, which was a CMS designed for documentation. You can see Grav’s documentation here.
Choosing Docsify
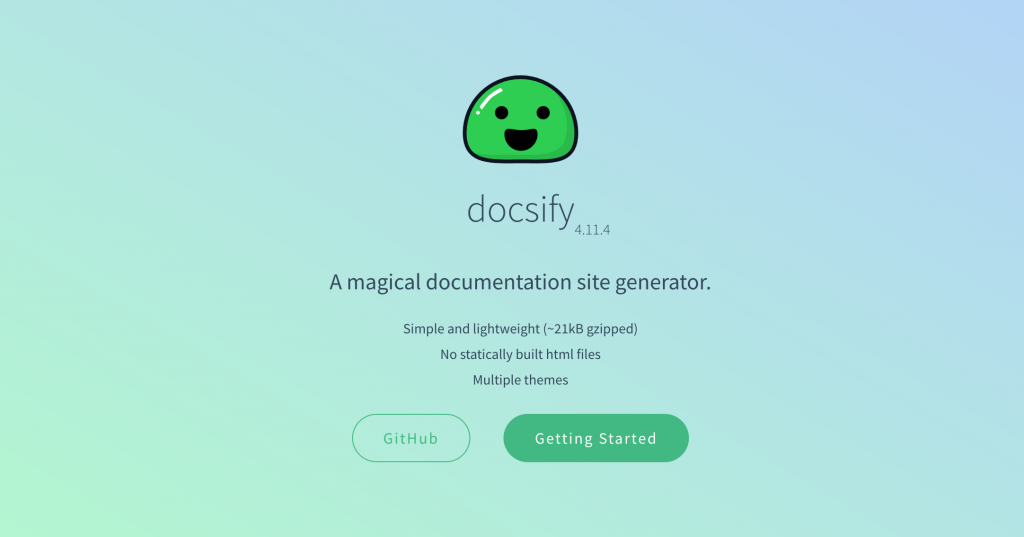
After looking at several flat-file documentation options, we settled on Docsify.
Note: There is an email tracker with the same name. Don’t confuse the two.
Docsify is an incredibly lightweight site generator. It isn’t a static site generator because it does not generate static HTML files. Instead, Docsify will smartly load and parse your Markdown files and then display them as documentation.
I’m going to walk you through how we use Docsify here at XCloner. These are best practices we’ve settled on after several weeks of learning Docsify.
Step #1. Create a Github repo
Your first step must be to create a dedicated repository for your documentation at GitHub. This can be either public or private, depending on whether you want to allow outside contributions to your docs.
You will need to enable Github Pages for this repository.
Step #2. Install Docsify
Before you can start making changes to the documentation you must first configure Github, install Docsify, and set up your local development environment.
For this step, you will need a Git client on your computer.
- In your Git client, add the master branch of the documentation repo (from Step #1 above).
- Install Docsify globally per these instructions. Typically this is a single command in your terminal:
npm i docsify-cli -g - Using your new local repository, initialize Docisfy per these instructions. Typically this is a single command in your terminal:
docsify init ./docs - In your Git client, commit the local changes to your master branch (push origin).
- From your terminal, change the directory so you are in the root of the local folder for your documentation repository.
- Run the following command to preview your site locally:
docsify serve docs - Use the web address displayed in your terminal to preview your site. Typically this will be something like:
http://localhost:3000
If your local version of the documentation looks good, you are ready to create and modify articles.
Step #3. Write new documentation
Let’s walk through the process to make a change to the documentation. For this example, we’ll be updating some images.
- In your Git client, create and publish a new branch from the master branch of the repo. In this example, our new branch will be called
update-screenshots. - Before proceeding, ensure that your Git client is showing
update-screenshotsas the current branch. You don’t want to modify the master branch directly. - In Github, create a new issue in your repo. This issue should be detailed and descriptive. For this example, let’s assume the issue created is #10. Create as many issues as is appropriate for your new branch.
- Make the required changes to the
update-screenshotsbranch in your local environment. For example, you may add some new screenshot images to the /media folder and update the relevant .md files to display the new screenshots. - In your Git client commit the local changes in the branch back to the origin (Github.com). If you’re using GitHub Desktop, this is a 2-step process:
- Commit changes
- Push origin
- In your Git client, create a pull request to review the changes.
- At GitHub.com, you or the reviewer can merge the pull request into the master branch.
Docsify Summary
Overall, we’re very happy with our choice of Docsify. After we got over the small learning curve, our team has been able to collaborate and create documentation quickly.
Click here to see new XCloner docs and click here to check out Docsify.
If you’re interested in posts like this, you may also like our post on moving from HelpScout to FreeScout.